Using elFinder August 31, 2013 / Updated: January 18, 2015
Zenphoto features a file manager plugin named elFinder for files outside the gallery and its albums. To use it on content fields like descriptions etc. you also need to enable the TinyMCE plugin. On the elFinder plugin options you also need to enable it for usage with TinyMCE.
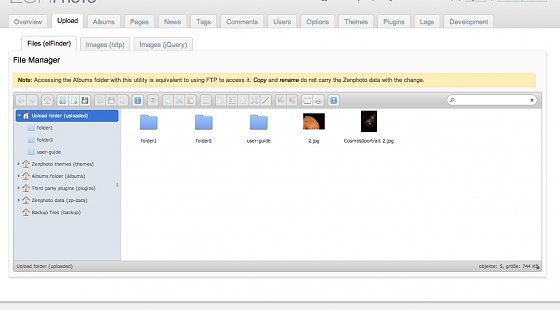
You can then upload, delete and manage files. The files are stored within the root /uploaded folder.
If enabled, the elFinder is available on the Upload tab.
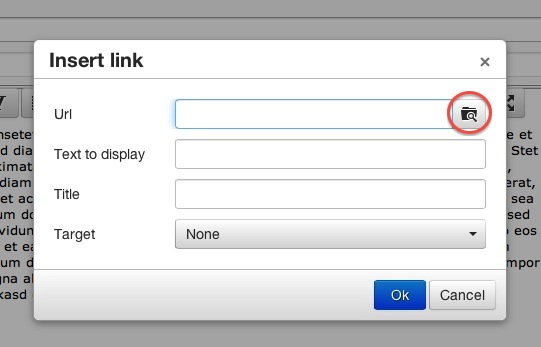
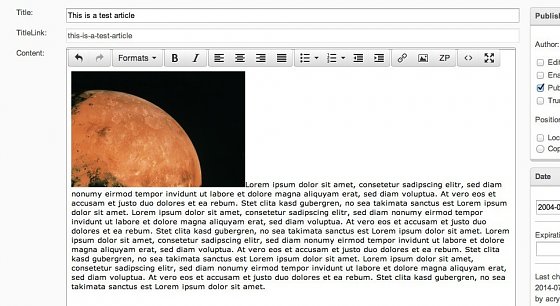
You can also access elFinder via the text editor TinyMCE (example here is a Zenpage article).
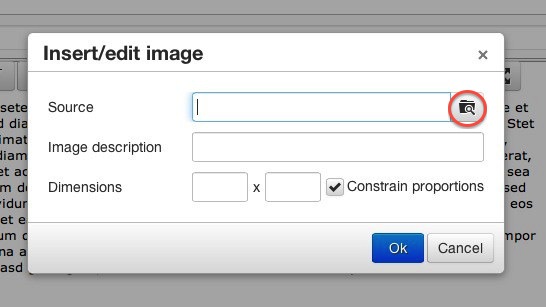
Depending on what you wish to insert you can use the insert link or insert/edit image button to access it.
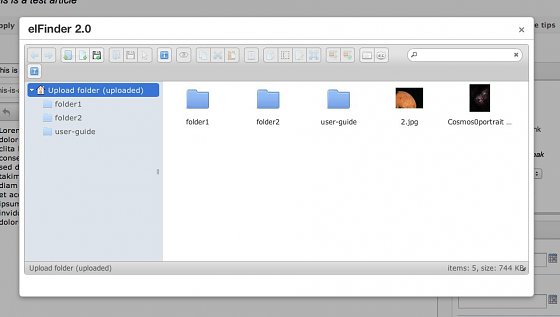
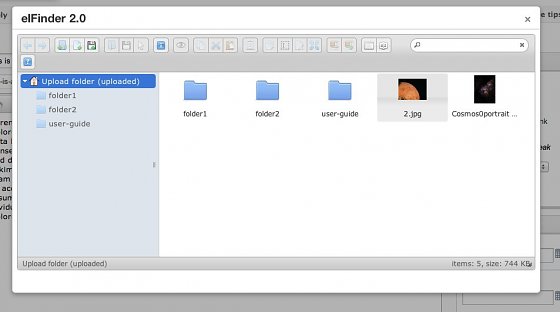
We will be using the insert/edit image button. After clicking the file button above you get the elFinder window.
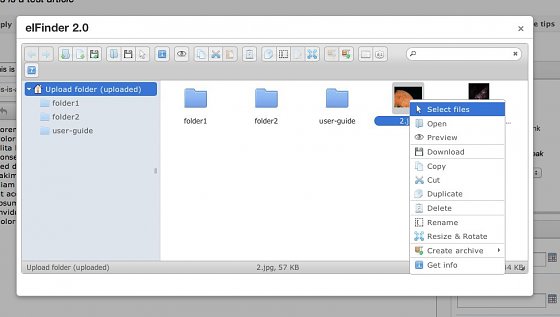
elFinder offers various tools to manage files via the toolbar above or the context menu.
Note that whenever you use elFinder you work directly on the items on the file system. Actions like sizing are destructive.
You can select several items but you can only insert one at a time via TinyMCE.
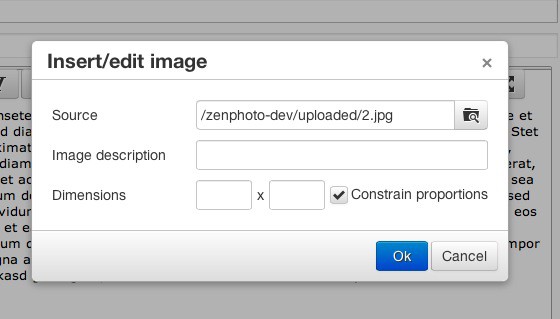
After you double clicked on your selection the link appears in the TinyMCE dialog window.
You can then set some extra settings. After clicking "Ok" the image is inserted.
 This text by www.zenphoto.org is licensed under a Creative Commons Attribution-ShareAlike 3.0 Unported License.
Code examples are released under the GPL v2 or later license
For questions and comments please use the forum or discuss on the social networks.


